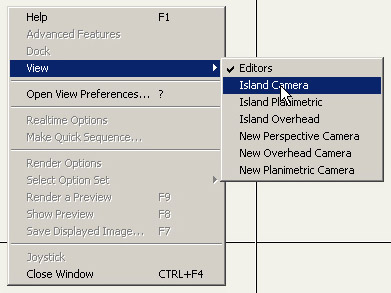
1. Let’s take a look at the Cameras VNS created for the Island project. Right-click in the upper left Matrix cell to open its popup menu. Hold your mouse pointer over the View item. The 3 Cameras with the project name are the default VNS Cameras.
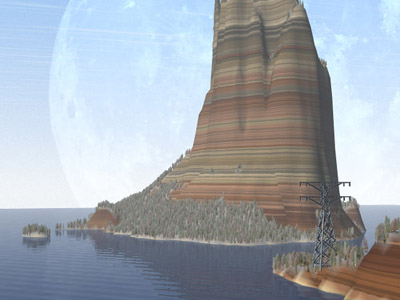
2. Select the Island Camera, which will be the main Camera for this project. The Camera is at its default location midway along the southern border of the terrain.
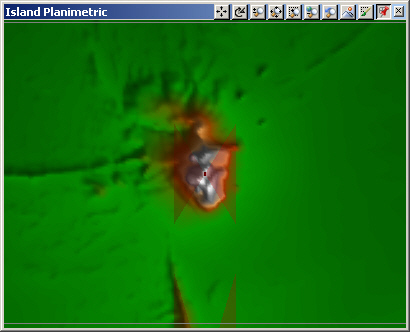
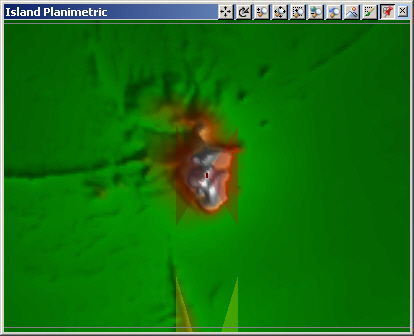
3. Right-click in the upper right Matrix cell to open its popup menu and select the Island Planimetric Camera. A planimetric camera looks down on terrain that has been flattened like a map.
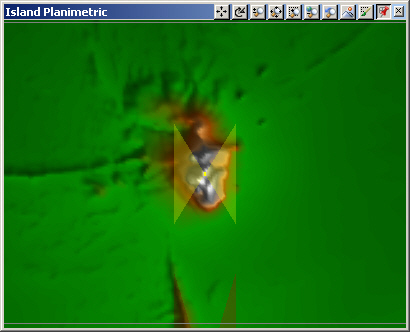
4. Alt+click the red Camera icon directly below us to make it the active item. The icon turns yellow and its name, Island Overhead (Camera), shows up in the Active Item window on the Animation Toolbar.
5. Alt+click the red Camera view planes at the bottom of the planimetric view and you’ll find it’s the Island Camera, the one we have open to the left.
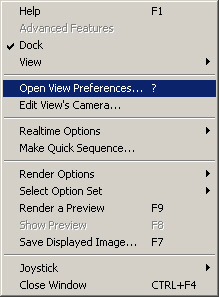
6. Let’s increase the terrain detail in the realtime Camera views. Open the Island Planimetric popup menu and select Open View Preferences.
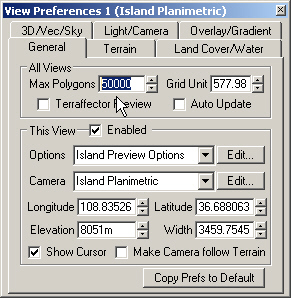
7. Most of the parameters are specific to the Camera view we opened from, in this case, the Island Planimetric. An exception is the General page All Views section. The Max Polygons value controls the number of polygons drawn in realtime views. The default is 50,000, which is ample for most projects.
8. Higher Max Polygons values yield greater terrain detail in realtime views. At some point, however, you’ll reach the point where the gain is barely noticeable and the resource demand on your video card slows interactive operations.
Max Polygons = 50,000
Max Polygons = 200,000
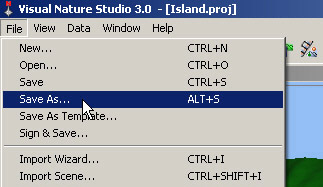
9. Save often, especially before renders. You can use the File > Save menu item or Ctrl+S keyboard shortcut.
10. The Status window will update with a message telling you the project was saved.