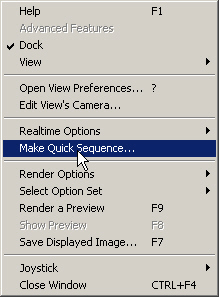
1. To save a series of realtime animation frames to disk, open the Main Camera view popup menu and select Make Quick Sequence.
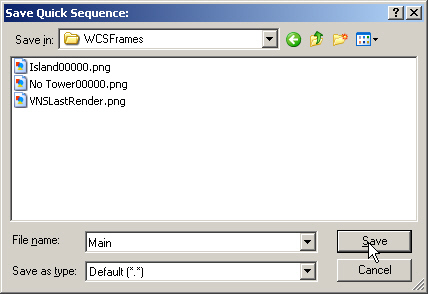
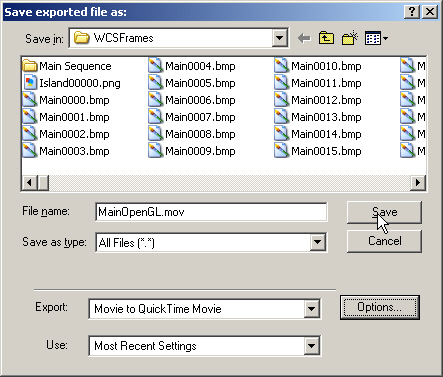
2. Navigate to the WCSFrames folder, name the sequence Main, and Save.
3. The animation will play slowly in the camera view and the Status window will show the Quick Sequence progress as the frames are saved.
Take Heed!
The Quick Sequence reads off active OpenGL buffers, that is, what’s visible on the screen. Don’t open or switch to another application until the process is completed.
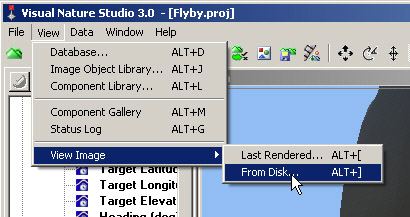
4. After VNS is finished, go up to the menu and select View > View Image > From Disk.
5. The View ImageFile requester will open in the last folder we were in, WCSFrames. There will be 601 numbered Main frames. We’ll use QuickTimePro to assemble the frames into an animation. It’s an inexpensive tool with a good feature set. If you’d prefer to use another tool you’re familiar with, assemble the frames into an animation and rejoin us at Step 14.
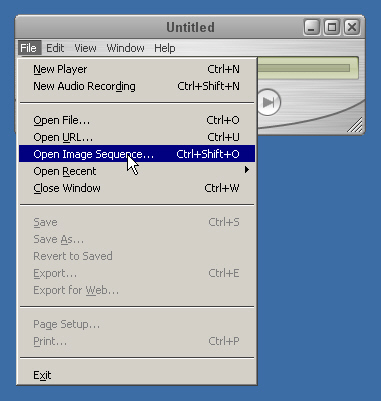
6. Launch QuickTimePro and select File > Open Image Sequence.
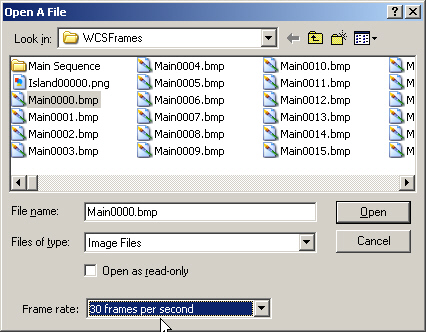
7. Navigate to your WCSFrames folder and select the first Main bitmap, Main0000.bmp. Change the frame rate to 30 frames per second and click Open to import the frame sequence.
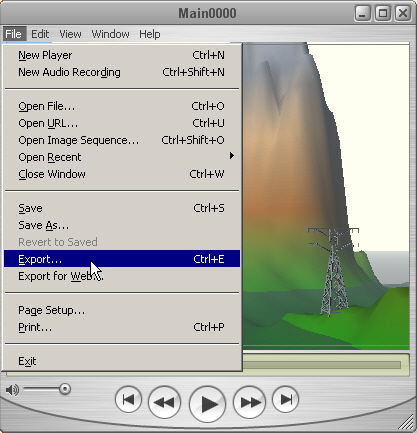
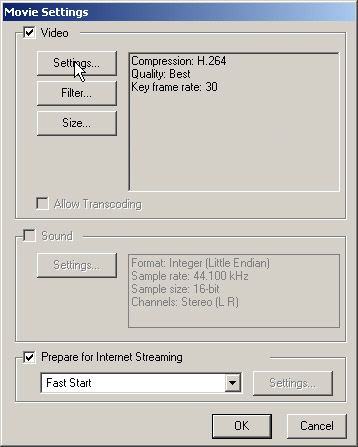
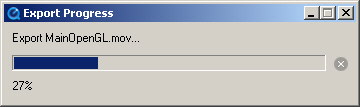
8. To save the movie, choose File > Export.
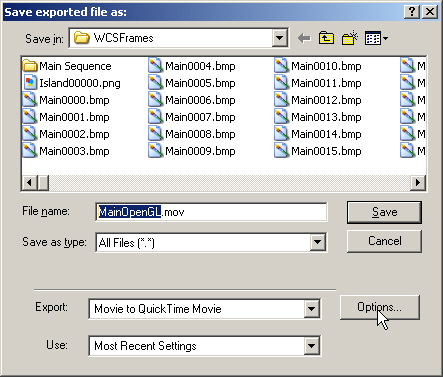
9. Name the movie MainOpenGL. Let’s check the Options and make sure they’re appropriate for animation.
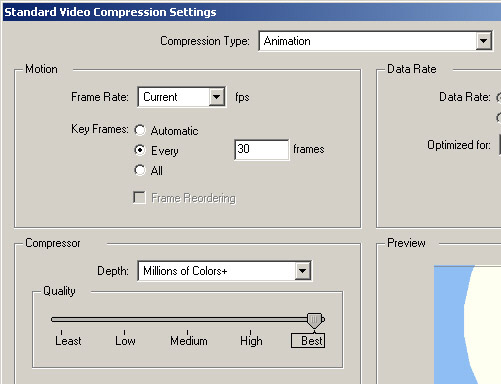
10. In the Movie Settings window, select Settings.
11. Choose the Animation Compression Type, Key Frames every 30 frames, and Best Quality.
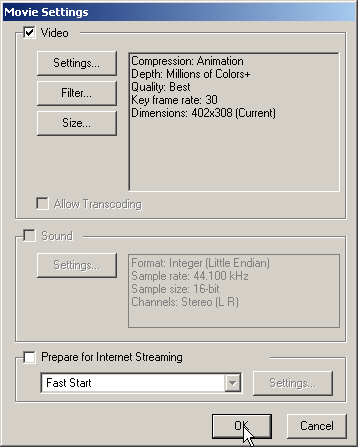
12. OK to set the Movie Settings.
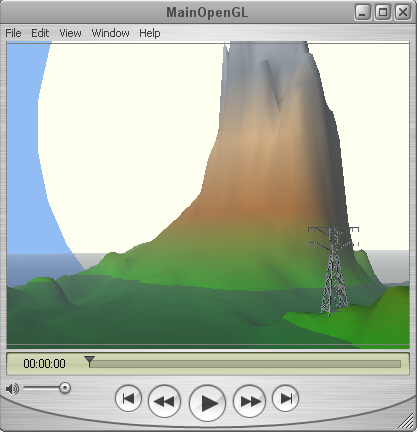
13. Save the movie.
14. When QuickTime finishes exporting the movie, open it to see the assembled OpenGL sequence. It’s on the VNS 3 DVD in the animation folder.
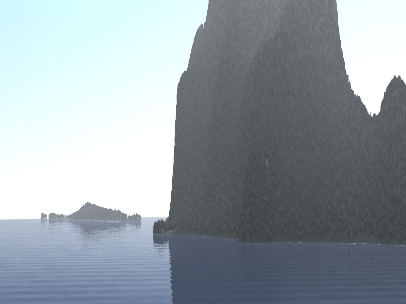
15. Play the animation. The camera path looks good, so we’re ready to continue. It’s a good idea to preview your camera moves this way before committing to long render times later on.