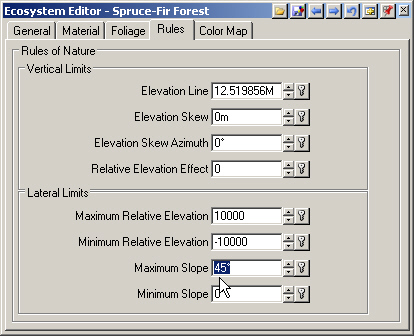
1. Now that we know the ins and outs of keyframe operations, let’s animate more Components. Go to the Land Cover Task Mode and open the Spruce-Fir Forest Ecosystem Editor to the Rules page. The Ecosystem currently renders on polygons with a Maximum Slope of 45°.
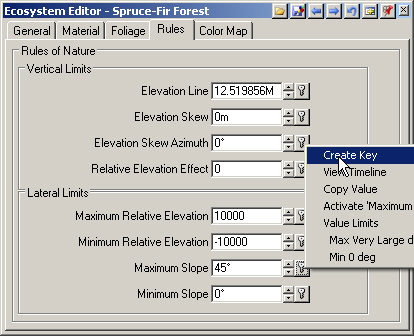
2. Create a key for this value at 0 seconds.
3. Change the Maximum Slope to 90° and keyframe it at 20 seconds.
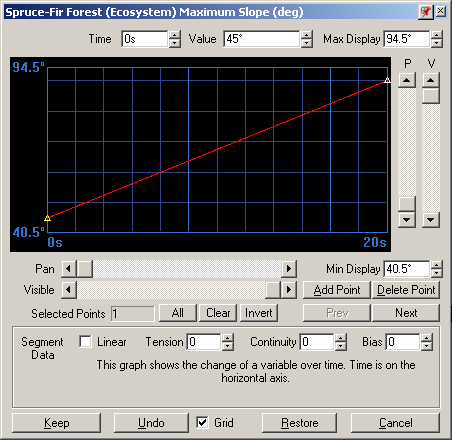
4. View the Maximum Slope Timeline. The Ecosystem Maximum Slope increases from 45° to 90° over the course of the animation.
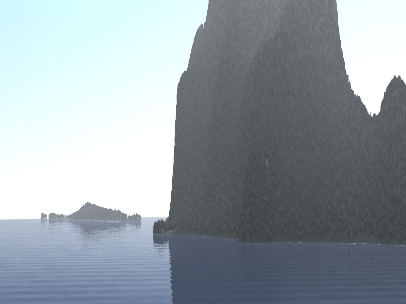
5. Close the timeline window and jump to the end of the animation. Save the project and render a Main Camera preview. We have forest covering everything at the end of the animation, just like we wanted.
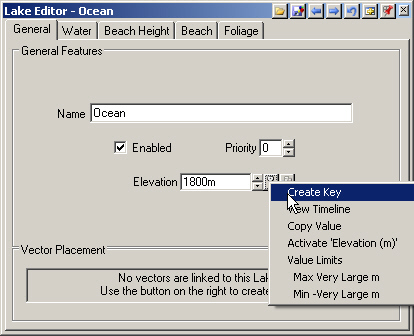
6. Let’s move on to the Water Task Mode, open the Ocean Lake Editor, and animate the water level. Change the Elevation to 1800 meters, and Create Key at 0 seconds.
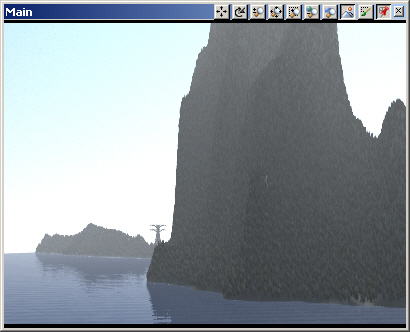
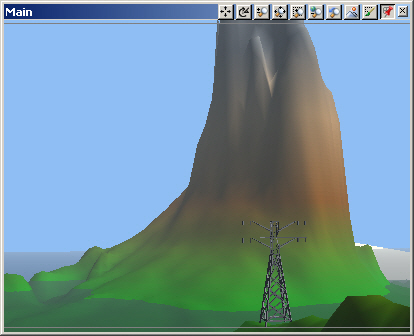
7. Switch the Main Camera view to realtime mode and use the frame slider to advance to just past the point where the camera passes the high tension tower, just past 6 seconds.
8. Let’s make the Ocean elevation visible at the bottom of this frame. Ctrl+click a new water elevation at the left notch in the slope.
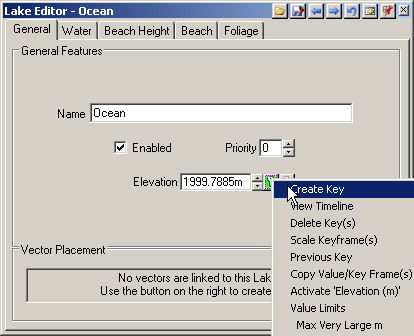
9. Create Key at the current frame.
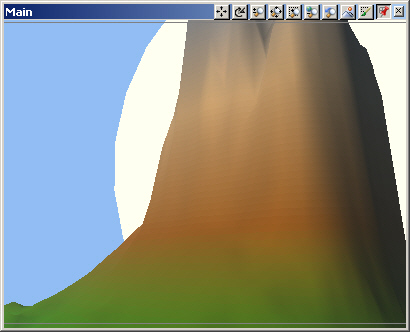
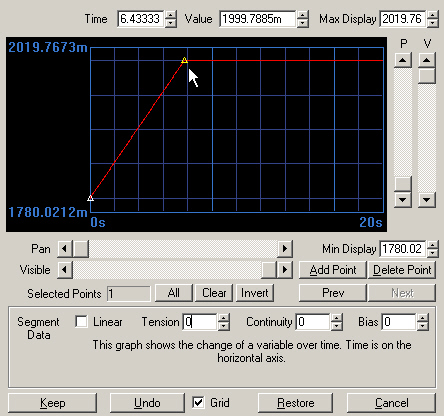
10. Jump back to the beginning of the animation and play it. If we set the keyframes correctly, the water should appear to rise ahead of us as we fly by the island. It may not be obvious in the preview, but the Ocean level rises to its maximum value and suddenly stops. We’re going to smooth out the transition.
11. Go to the Ocean Elevation and View Timeline. Sure enough, the Ocean elevation rises at a constant rate from 0 to about 6 seconds and abruptly stops.
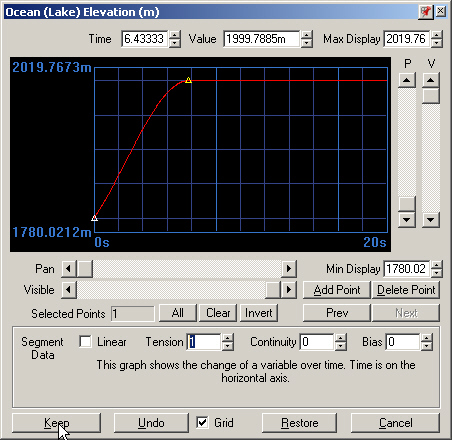
12. To make the rate of rise slow as it approaches the maximum value, select the second keyframe and change its Tension to 1. You’ll recognize this as the same change we made to the camera latitude and longitude timelines earlier. Keep your changes and save the project.
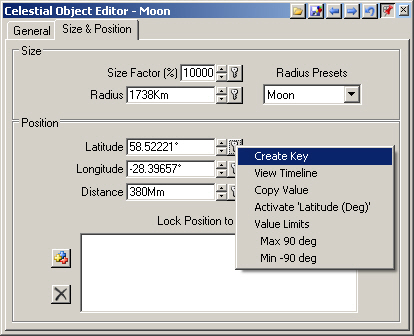
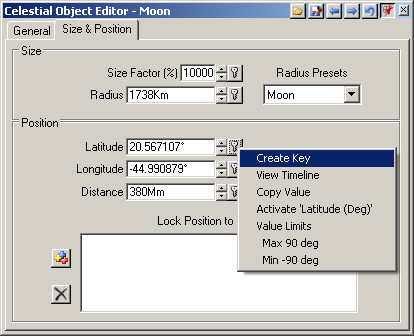
13. Return to frame 0. Go to the Sky Task Mode and open the Moon Celestial Object Editorto the Size & Position page. Create Key for the position group at 0 seconds.
14. Move the Moon to set at the end of the animation and create a key at 20 seconds. Don’t forget to click out of Move Mode when you’re done.
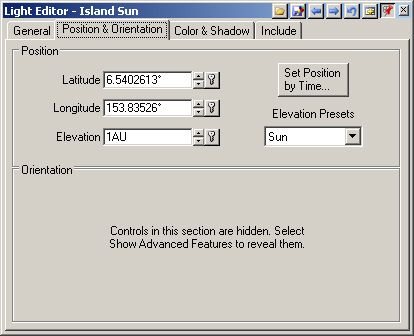
15. Next, we’ll animate the Sun position from morning to afternoon. Go to the Light Task Mode and open the Light Editor to the Position & Orientation page.
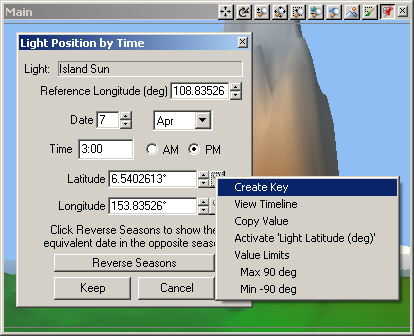
16. Select Set Position by Time. The project has a 3:00 PM Light, so let’s keyframe that at the end of the animation, or 20 seconds.
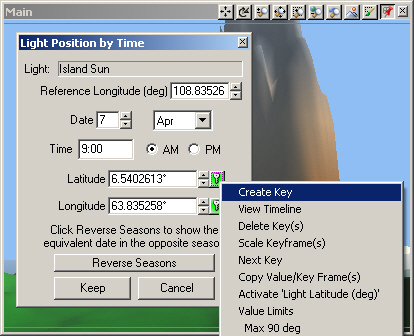
17. Change the time to 9:00 AM and create a key at 0 seconds. Close the Light Position by Time window.
18. Save the project. Go back to the beginning of the animation and play it. The sun starts in the east, reaches a noontime position midway through the animation, and drops to the west. This is easier to see in the planimetric view as the terrain shading changes are more obvious during the course of the animation.
19. The last Component we’re going to animate is the High Tension Tower 3D Object. Although we can’t import animated objects from other programs into VNS, we can animate 3D Object position, rotation, and scale, and deform the object by animating vertex position.
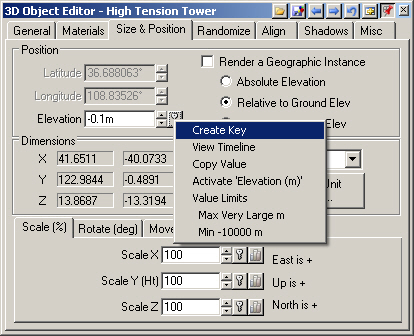
20. Go to the 3D Object Task Mode. Open the 3D Object Editor to the Size & Position page. Keep in mind that 3D Object axes follow a different convention than terrain axes. For terrain, the x-axis runs east-west, the y-axis runs north-south, and the z-axis is elevation. For a 3D Object, the x-axis still runs east-west, but the z-axis is north-south and the y-axis is elevation. According to the dimensions, this object is about 82 meters wide, 123 meters tall, and 27 meters deep.
21. We’re going to animate Position and cause the tower to sink into the ground. It will start the animation at its current elevation relative to ground, so Create Key at 0 seconds.
22. Frame slide to the last point where we see the entire tower, between 2 and 3 seconds.
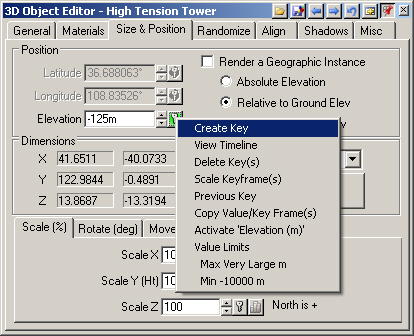
23. By this time, we want the tower gone from view, so change the Elevation to -125 meters and Create Key.
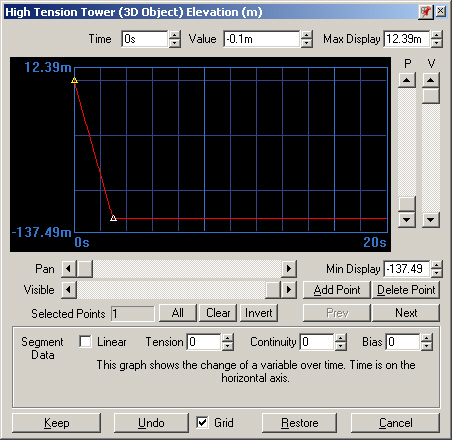
24. View Timeline. We have the default Tension values that don’t make for smooth transitions.
25. To make the rate of ascent ease in and ease out, change each keyframe Tension to 1.
26. Keep the changes and save the project. Jump back to the beginning of the animation and play.