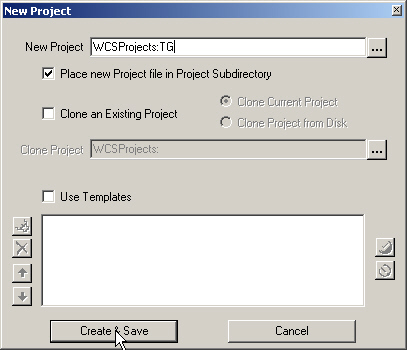
1. VNS doesn’t limit you to imported data for terrain. You can also create terrain with the Terrain Generator. Create a new project and name it TG.
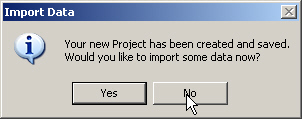
2. When asked if you want to import data, answer No, as we’ll be creating our own.
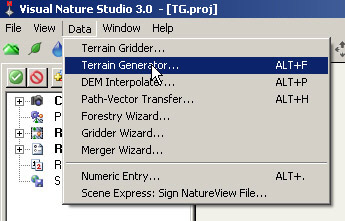
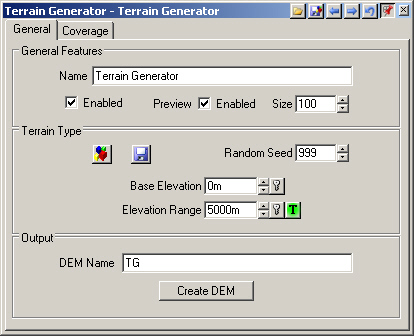
3. Go to the Data menu and open the Terrain Generator.
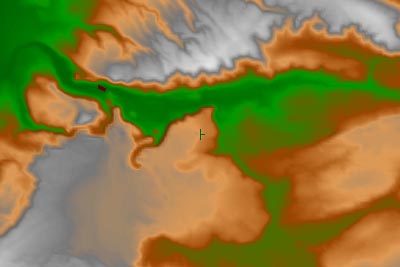
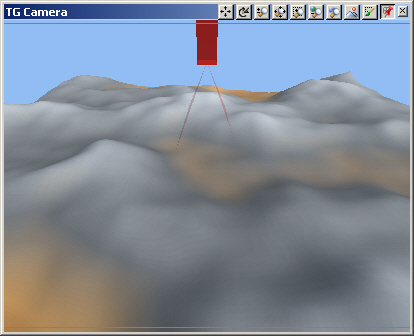
4. Open a view for TGCamera and zoom back a notch with the – (minus) key.
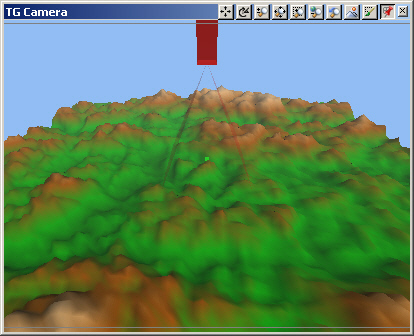
5. We have terrain visible in the camera view, but we don’t have any DEM objects in the Database Editor. This is a preview of the default Terrain Generator texture, size, and elevation range. It doesn’t become a DEM object until we create a DEM.
6. Select Elevation Range Texture Operations and Edit Texture.
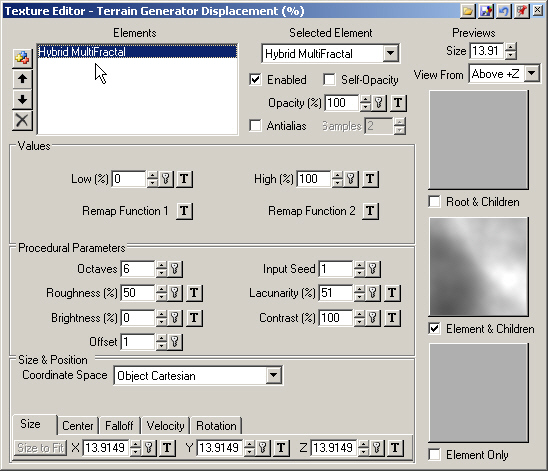
7. Drag the Texture Editor out of the way so we can see the camera view. The default element is a Hybrid Multifractal texture.
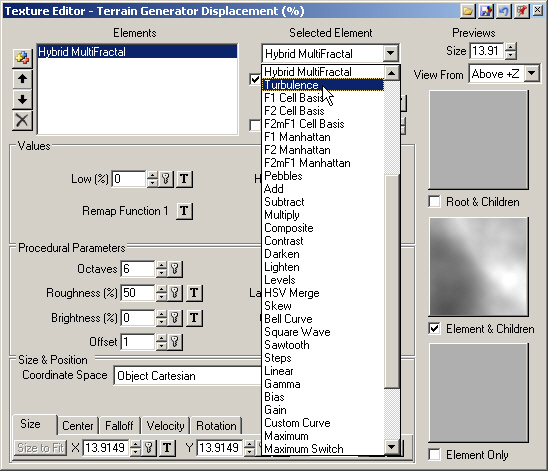
8. Go to the Selected Element dropdown list and choose Turbulence.
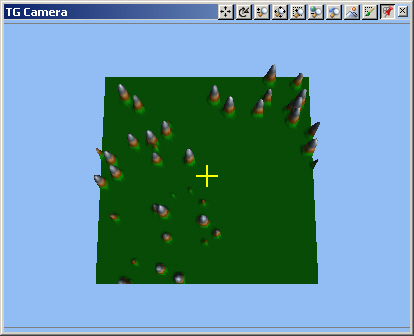
9. The camera view refreshes with the new texture element.
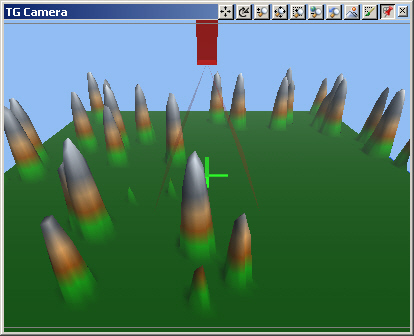
10. Try Pebbles next. In addition to creating artificial terrain, the Terrain Generator Texture Editor is a great place to experiment with different textures and see how they work in 3 dimensions.
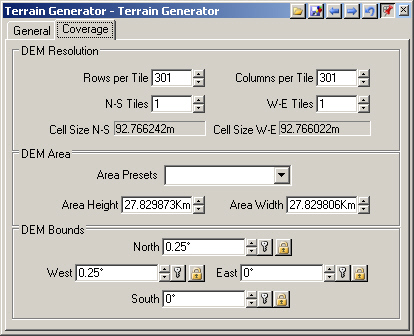
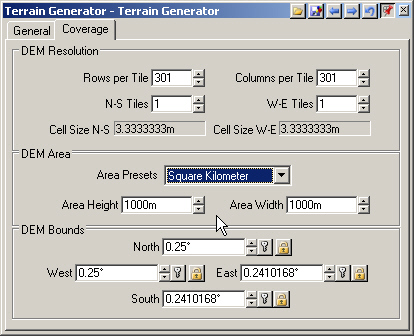
11. Close out the Texture Editor and go to the Terrain GeneratorCoverage page. The default terrain size is about 28 kilometers on a side and the elevation ranges from 0 to 5000 meters.
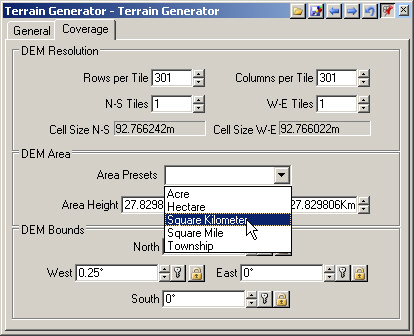
12. To choose another area preset, use the Area Presets dropdown list and select Square Kilometer.
13. The elevation range and cell size will scale accordingly.
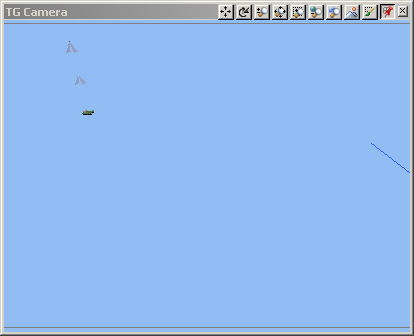
14. The camera view changes as the nearly 800 square-kilometer terrain is reduced to a single square kilometer. That’s the DEM off in the distance.
15. Reset the TG Camera to its default position.
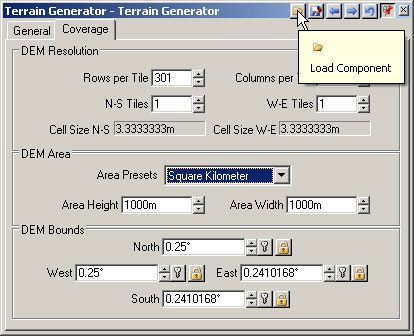
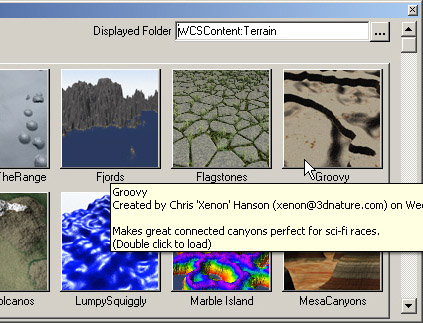
16. You can also set your own values for DEM dimensions, bounds, cell size, and elevation range. As with all VNS Components, you can load a prebuilt Terrain Generator. Select Load Component from the titlebar to open the Component Gallery.
17. Load the Groovy Component.
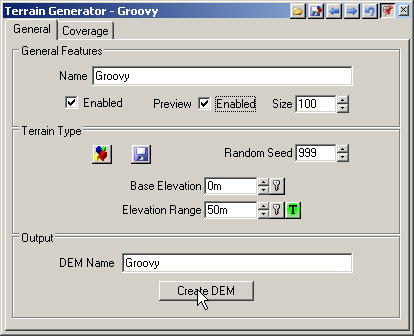
18. You don’t see any terrain because the Component has the preview disabled. Go to the General page and check the Preview Enabled box.
19. Create DEM, save your project, and close out the Terrain Generator.