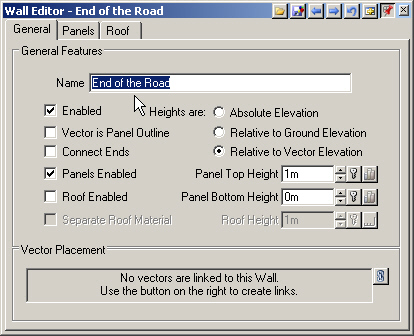
1. We can’t have a highway just end without warning, so let’s add one. We’ll use a Wall, another useful VNS feature in the 3D Object Task Mode. Right-click the Walls category and Add Component of this type. We’ll use an existing vector to control it.
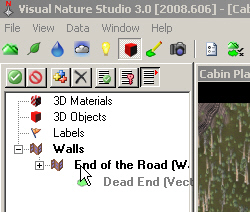
2. Name it End of the Road. Expand the Walls category in the Scene-at-a-Glance.
3. Copy the Dead End vector from the lower S@G tab to End of the Road Wall.
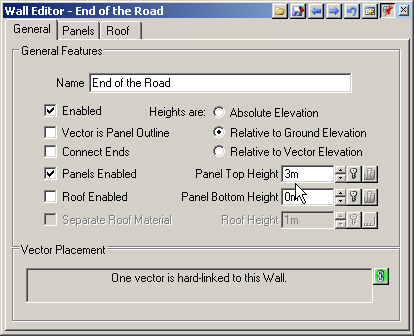
4. Make the Height Relative to Ground Elevation. Increase Panel TopHeight to 3 meters.
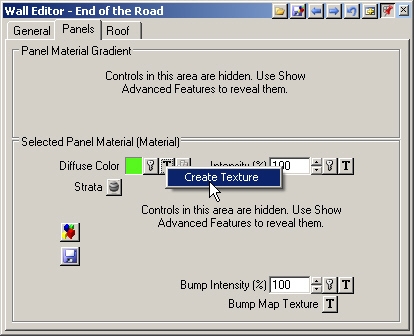
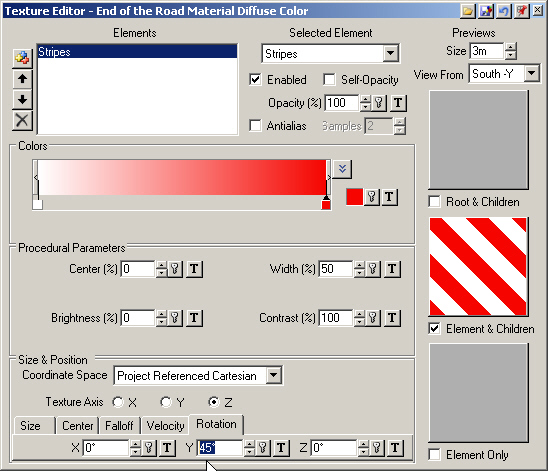
5. Go to the Panels page and create a Diffuse Color Texture.
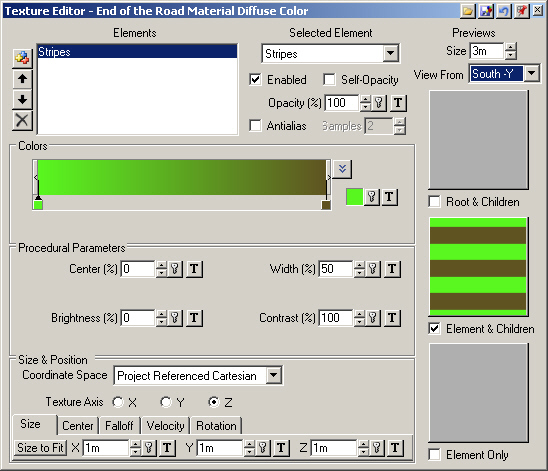
6. Choose Stripes from the Selected Element dropdown list. View From the South-Y.
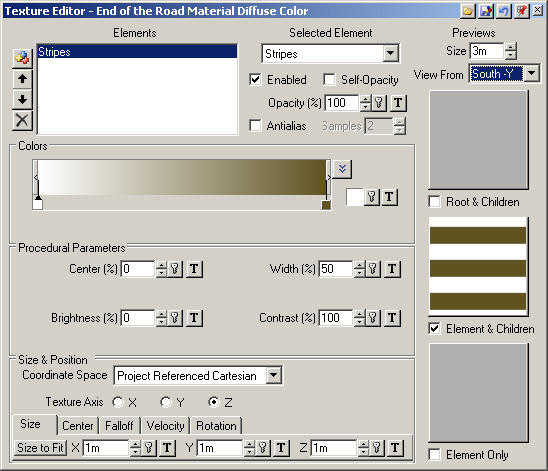
7. In the Colors section, change the left pin color to white.
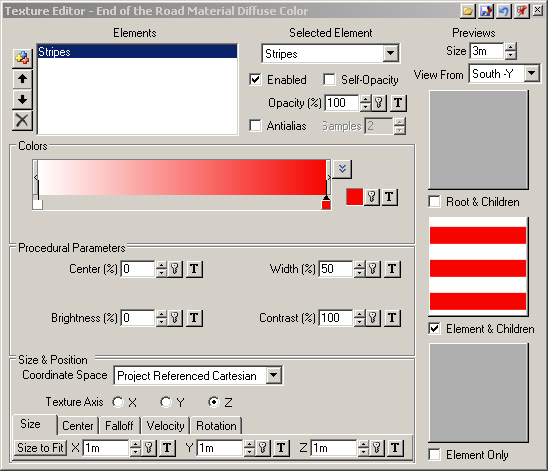
8. Change the right pin color to red.
9. Go to the Size & Position section and open the Rotation tab. Change the Y axis value to 45° to complete the warning barrier texture. Close the Texture Editor.
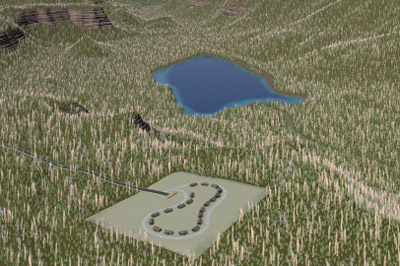
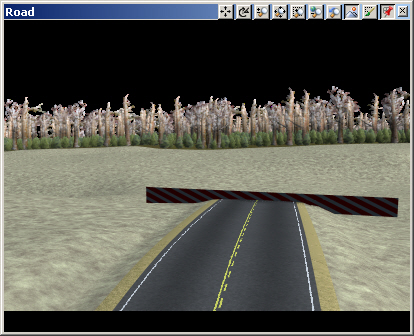
10. Save the project and render a preview. The barrier is mostly hidden because it’s resting on the ground beyond the highway. This will fix itself when we raise a pad for the development. We can’t see the barrier texture because the Wall is lit from behind.
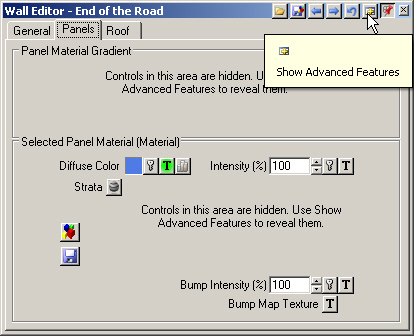
11. Go to the Wall Editor Panels page and Show Advanced Features
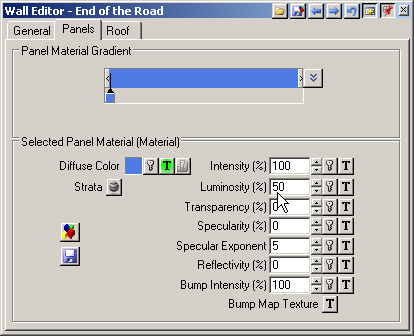
12. Increase the Luminosity to 50%. This is not a magical number. Like many VNS values, it depends on the scene and lighting and is the result of trial and error.
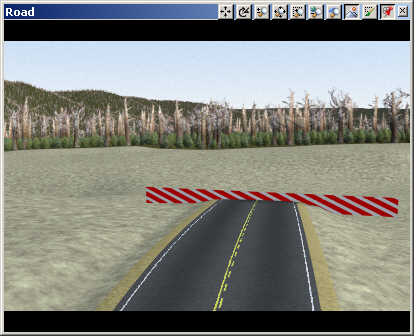
13. Save the project and render a preview.
14. This is a simple application of a very powerful tool. For a look at using Walls to raise city buildings, explore the NYC project in the Demos folder.